Saw the link on
bell pepper egg posted by the Munch Ministry a few days ago and decided to try it over this weekend. Met up with a friend on Thursday for the movie, The Avengers, and told her about the recipe. She suggested doing it as scrambled egg with toppings rather than sunny side up. Wanted to try cooking celery for sometime so figured that I could add celery bits as part of the recipe.
While doing marketing in NTUC last evening, I saw a packed quartered butternut pumpkin and bought that without knowing how to cook it. Googled for recipes on how to cook butternut pumpkin and most of them were either roasting or making it into soup. In the end, I decided to cook it as a dessert with the Japanese sweet potatoes in the fridge.
Set off to work after eating breakfast this morning, cut the capcicum into 1/2" rings, diced some of the leftover capcicum, carrot and celery. Then heat up the Happycall Pan and started cooking. My cutting skill wasn't fantastic and so the sides of the capcicum ring were not really even, hence, when I poured the beaten egg into the rings, it leaked and spread across the pan. Fortunately, as the base started to get cooked, I could continue to top up the rings.
Conitnued with the cooking of the sausages and salad, then arranged everything on a serving plate to take some photos.
Capcicum Egg with Sausages and Celery Salad
Ingredients:
2 eggs
2 sausages
1 red capcicum
2 tsp olive oil
salt and pepper
sliced celery
diced carrot and red capcicum
some finely diced celery, red capcicum and carrot
Method:
1. Slice red capcicum into two 1/2" thick rings and remove the inner part
2. Crack eggs into a bowl, season with salt and pepper
3. Add the finely diced celery, red capcicum and carrot to the egg and beat together
4. Heat 2 tsp olive oil in the Happycall pan over low heat and cook the red capcicum rings for 2 minutes on one side
5. Flip the rings over and pour the beaten eggs very slowly into the middle of the rings till full
6. Cover and lock the pan to cook for 4-5 minutes
7. Open the cover to check that the egg is firm
8. Flip the egg rings over, add the 2 sausages into the pan and cook for another 2-3 minutes
9. Remove egg rings and sausages from pan, arrange onto a serving plate and wipe the pan clean with a kitchen towel
10. Add the sliced celery, diced carrot and red capcicum into the pan and sprinkle some salt over them
11. Cover and lock the pan to cook for 1-2 minutes
12. Remove the vegetables from the pan, arrange them onto the side of the same serving plate and drizzle some mayonnaise
After that, I went on to peel and cut the Japanese sweet potatoes and the butternut pumpkin. Boiled them in a pot of water till they became very tender. Took them out, mashed them, added some sugar before using the Happycall pan to fry them with some oil.
Butternut Pumpkin also known as Butternut Squash
|
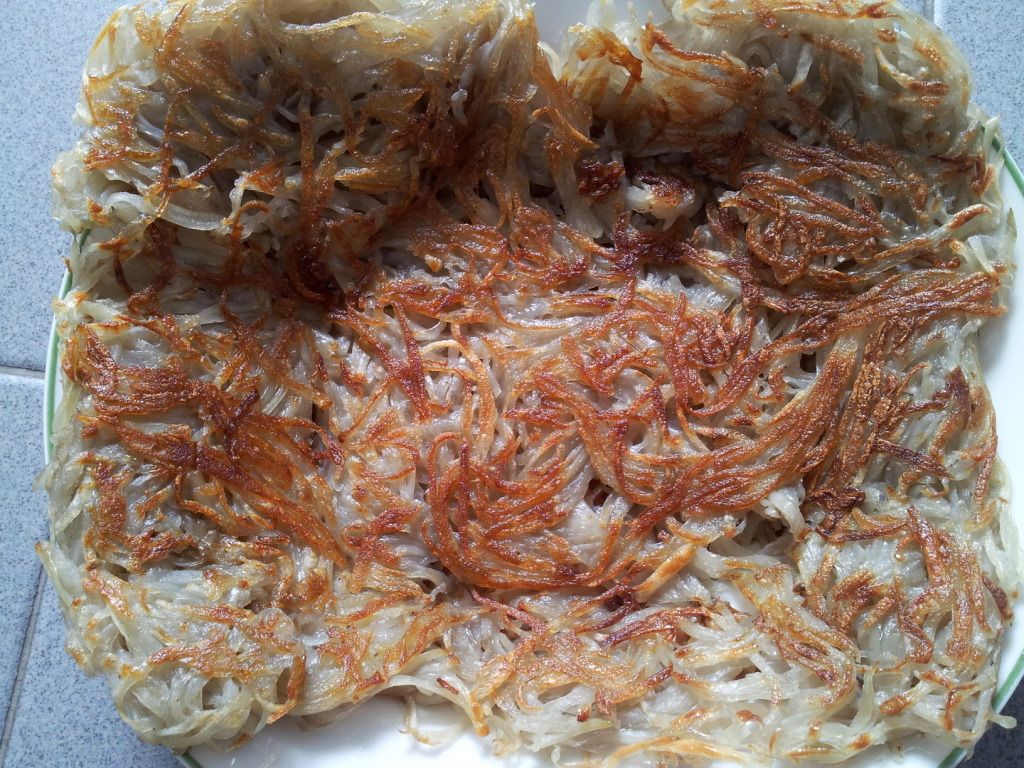
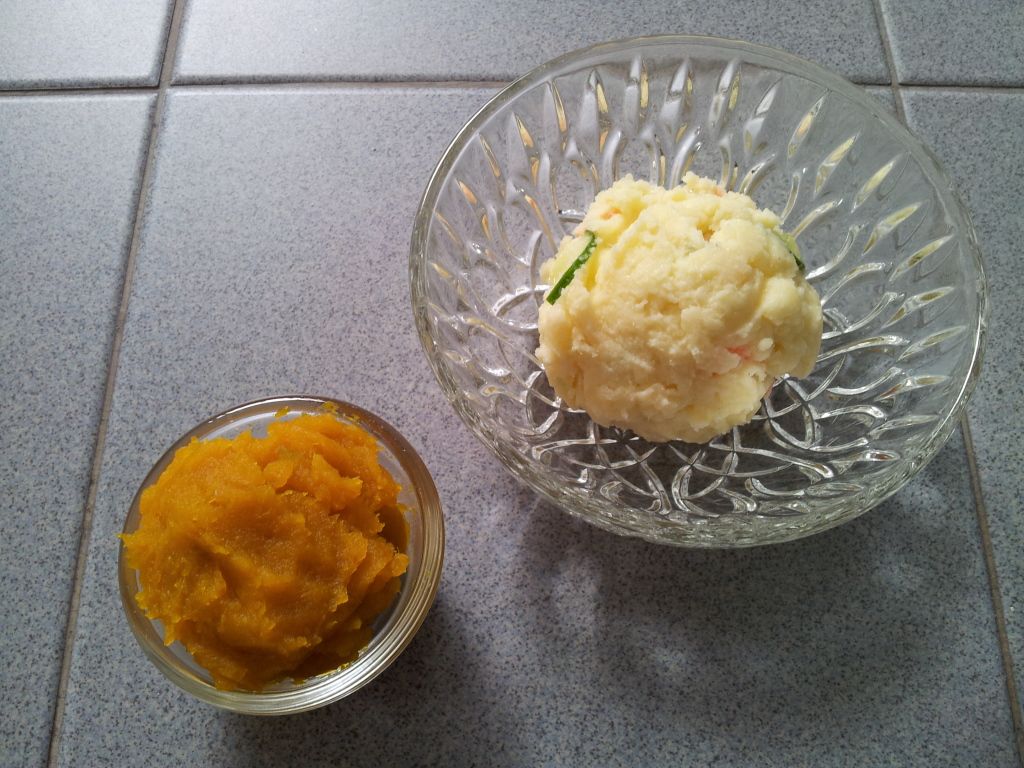
Butternut Pumpkin Paste
|
Japanese Sweet Potato Paste
|
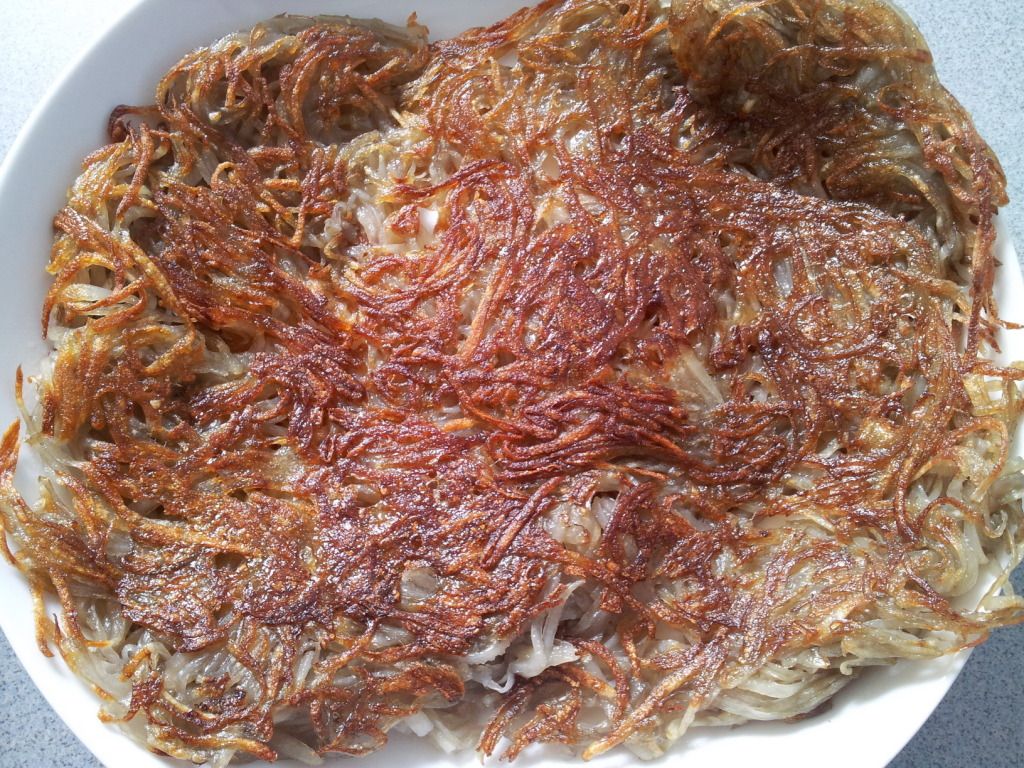
The ultimate combination!
Japanese Sweet Potato and Butternut Pumpkin Paste
Ingredients:
2 Japanese sweet potatoes - skinned and cut into cubes
1/4 butternut pumpkin - skinned and cut into cubes
2 heap tbsp sugar
4 tbsp oil
some sliced shallots
Method:
1. Boil the sweet potatoes and butternut pumpkin cubes in a pot of water till tender
2. Remove the cubes from the water and separate them into two bowls
3. Mash the sweet potatoes with a fork and fold in 1 heap tbsp sugar*
4. Do likewise for the butternut pumpkin
5. Heat up the oil in Happycall pan to fry the shallots till they turn brown
6. Separate the fried shallots from the oil
7. Add the mashed sweet potatoes into the oil and start stirring with the spatula till it absorbs all the oil and forms a smooth paste**
8. Remove the paste from the pan and set aside
9. Add the mashed butternut pumpkin into the pan and stir for a few minutes till it thicken slightly into a paste
10. Remove the paste and set aside
11. Scoop some sweet potato paste and pumpkin paste into a serving bowl and garnish with fried shallots
* You can adjust the amount of sugar according to your taste
** You can add more oil if it still doesn't form a smooth paste
Recipe for
Japanese Sweet Potato and Butternut Pumpkin Paste submitted to
Munch Ministry


