Sunday, March 2, 2014

2 Mar 14 (Sun) - Cordyceps Flower Steamed Chicken Thigh and Orange Sunriser

Still on the cordyceps flower bandwagon and today I used it to steam chicken thigh. The end result was really good and I think maybe next time I can add a bit of Chinese wine towards the end of the steaming to make it more fragrant.

Again the recipe is based entirely on my own estimations.

Ingredients:
1 chicken thigh
8g cordyceps flower
4 red dates
1 tsp wolfberries
1 small ginseng, break to 3 parts
salt

Method:
1.  Clean the chicken thigh, remove all visible fats and marinate with some salt for 15 mins
2.  Soak cordyceps flower in hot water for 15 mins and drain
3.  Soak red dates for 15 mins and cut to 3 parts each
4.  Rinse wolfberries and ginseng parts
5.  Place chicken thigh on steaming dish, arrange cordyceps flower, red dates, wolfberries and ginseng on top and around the chicken thigh
6.  Steam chicken thigh over med-low heat for 15 mins or until meat is cooked
7.  Remove from heat and serve warm


Saw an interesting recipe called Orange Sunriser in a catalog featuring Philips electrical products and decided to give it a try since I have the necessary ingredients. The result didn't turn out the way I had imagined it to be. Perhaps I had added too much orange juice when I blended the frozen strawberries or my blender just wasn't meant for this. Though it didn't turn out the way I wanted it to be, fortunately the taste was good.


Ingredients (Serves 1):
2 sunkist 3107 oranges
5 frozen strawberries*
1 tsp sugar

Method:
1.  Juice the oranges and set aside
2.  Blend the frozen strawberries with sugar and 1 tbsp of orange juice until the consistency is that of a frozen slush
3.  Fill a glass with orange juice till 3/4 full and fill the remaining 1/4 with the strawberry frozen slush
4.  Serve with a straw

* Remove the leaves before freezing

Saturday, March 1, 2014

1 Mar 14 (Sat) - Spare Ribs Cordyceps Flower Soup and Steamed Osmanthus Red Snapper

Saw Ellena Guan of Cuisine Paradise posting photos of dishes cooked using cordyceps flower and got curious about that ingredient. Happened to be in Chinatown for an excursion last Thursday and popped into a shop to check that out. Bought a small pack to try and then went on to check on the various recipes using cordyceps flower.

Cordyceps Flower

Found a few soup recipes that use chicken as the base so in the end decided to follow Cuisine Paradise' Double-boiled Cordyceps Flower Herbal Soup recipe. As I don't own a double-boiled pot nor a slow cooker and I didn't want to use chicken as base, I had to do some modifications to the recipe. So the end result was entirely based on my own estimations which fortunately didn't turn out too bad.


Ingredients:
$2 worth spare ribs
8g cordyceps flower
4 rice bowls of water
1 tsp wolfberries
8g dried longan
4 red dates
1 small ginseng, break into 3 parts

Method:
1.  Clean, rinse and blanch spare ribs in boiling water for 2 mins then rinse and set aside
2.  Rinse all the herbs and set aside
3.  Bring water to a boil and add in all the ingredients
4.  Boil the soup over med-low heat till left with two bowls of soup
5.  Season soup with salt according to taste and serve warm


Attempted the Steamed Osmanthus Cod Fish recipe from Cuisine Paradise again but this time I used red snapper fillet instead. Cooked some vegetables with oyster sauce and all these became my  meals for the day.


A little basic knowledge of cordyceps flower - Its actual name is called Cordyceps Militaris. It is not the flower of Cordyceps Sinensis but is a cultured mushroom fungus that has similar medicinal value as cordyceps. It is believed that this herb helps to strengthen the lung; kidneys and liver thus improve the body’s immune system as a whole.

Some said health benefits of the Cordyceps Flower:
  • Improve respiratory function to treat asthma, cough, emphysema, bronchitis
  • Improve kidney, boost energy and improve brain memory
  • Improve liver function to treat hepatitis
  • Reduce blood sugar, urine sugar
  • Reduce blood pressure and ease hypertension, thrombus diseases
  • Reduce heart disease risk, numbness of hands or feet
  • Antibacterial, anti-inflammatory, anti-cancer
  • Antioxidant and anti-aging
  • Enhance overall immune system

Sunday, February 9, 2014

9 Feb 14 (Sun) - Chocolate Chip Ice Cream

Actually did the ice cream yesterday but have to freeze overnight for it to set. The recipe originated from Cuisine Paradise's Eggless Dark Chocolate Ice-Cream. I merely substituted two items because I didn't have them and added some chocolate chips into it.

The result is indeed very creamy like those commercial ones even without using egg. I guess the secret is the melted dark chocolate in the recipe that makes it creamy. However, the ice cream melts super fast and I wonder if it was because I substituted the brand of cocoa power and the type of chocolate.

From these...

... to this...
Creamy-but-melt-super-fast
Chocolate Chip Ice Cream

Ingredients (Serves 4-6):
20g O'boy Cocoa Powder, sieved
90g Hershey's Mini Chips Semi-Sweet Chocolate
65g Castor Sugar 
200ml Whipping Cream
125ml Fresh Milk
A bunch of Hershey's Mini Chips Semi-Sweet Chocolate

Method:
1.  Add whipping cream, cocoa powder, sugar in a pot
2.  Whisk the mixture over medium heat till sugar melts and well combined
3.  Bring mixture to a gentle boil and stirring constantly
4.  Remove from heat and whisk in the mini chips till completely melted
5.  Whisk in fresh milk till mixture is glossy and set aside to cool
6.  Transfer the mixture to a container of your choice and put into the freezer
7.  Take out after four hours to add in the rest of the mini chips and churn with a spoon
8.  Return the mixture to the freezer and leave it to freeze overnight

Saturday, February 8, 2014

8 Feb 14 (Sat) - Sunkist Orange Steamed Egg Custard (新奇士橙炖蛋)

First post in the year 2014 and in the year of the Horse! Today I made Sunkist Orange Steamed Egg Custard (新奇士橙炖蛋). Got the idea from one of the food item I saw on the River Hongbao 2014 website. According to the website, this dessert is a healthy dessert eaten by most Yunan women because it is rich in protein, amino acids, vitamin A and B, calcium, iron, etc. and is good for rheumatism, enhance immunity, soften blood vessels, promote digestion and absorption, etc. (sorry, unable to translate all of the explanation).


Finally, this!

Ingredients:
1 Sunkist Orange*
1 Egg
150ml Fresh Milk
20g Sugar

Method:
1.  Cut the top part of the orange to create an opening
2.  Remove the flesh of the orange and take care not to break the orange peel then set aside
3.  Beat the egg in a bowl
4.  Warm the milk in the microwave but do not boil it
5.  Add the warm milk into the beaten egg then add sugar and mix well with a fork
6.  Use a spoon to remove the foam on the surface of the egg mixture
7.  Pour the egg mixture into the empty orange peel** and cover the opening with the top part of the orange
8.  Steam it for 12mins in a pot with a lid on using medium heat
9.  Lift the lid up a bit to release some steam every 4mins
10.  Off the heat after 12mins and serve hot or chilled

*   Depending on the size of the orange, it may be necessary to use two oranges instead.
** Do not fill up to the brim because during the steaming, the egg mixture may overflow.

Recipe featured in Munch Ministry's Homecooks Spotlight

Sunday, December 22, 2013

22 Dec 13 (Sun) - Rice Balls and Beef Noodle

Today marks the Arrival of Winter and so it is called the Dōngzhì Festival or Winter Solstice Festival. It usually falls three days before Christmas Day. One of the traditional activities is to make and eat tangyuan or rice balls. So to celebrate, I made rice balls in ginger soup. And to reward myself for the work done, I cooked beef noodle using the last packet of the beef powder I bought from Korea last year. Happy 冬至 everyone!

Some ingredients...

... that were used to make into these colorful balls...  

... which were then cooked in ginger soup to become tangyuan!

After the making and cooking of Tangyuan, rewarded myself with one of my comfort food, beef noodle.

And finally, I'm getting into the mood for Christmas!

Thursday, November 7, 2013

A Review: A Noodle Story

Read about this ramen stall "A Noodle Story" when I was reading an article about ramen in MyPaper (page A17) today. So happened that I went to Amoy Street Food Centre for lunch with my colleague and I remembered about this stall. Managed to find it and both of us decided to give it a try. The price for a bowl of ramen range from $5-7.


Despite that it is classified under the category of ramen, the noodle was actually Chinese egg noodles. There were a lot of toppings such as Japanese char siew which was really soft and tender; hot-spring egg which was very soft and the yolk slightly runny; Hong Kong wonton with shrimps as fillings and finally the crispy potato-wrapped prawn.


The stall owner took pain to arrange the toppings and garnish very nicely which made the whole eating experience very enjoyable. The soup that came with the noodle was very tasty too. I was really very full after eating the $5 version. For those who are bigger eaters, can give the $6 and $7 versions a try. Recommended on the basis of its uniquely Singapore style.

Sunday, October 27, 2013

26 Oct 13 (Sat) - Red Dragon Fruit Ice Cream

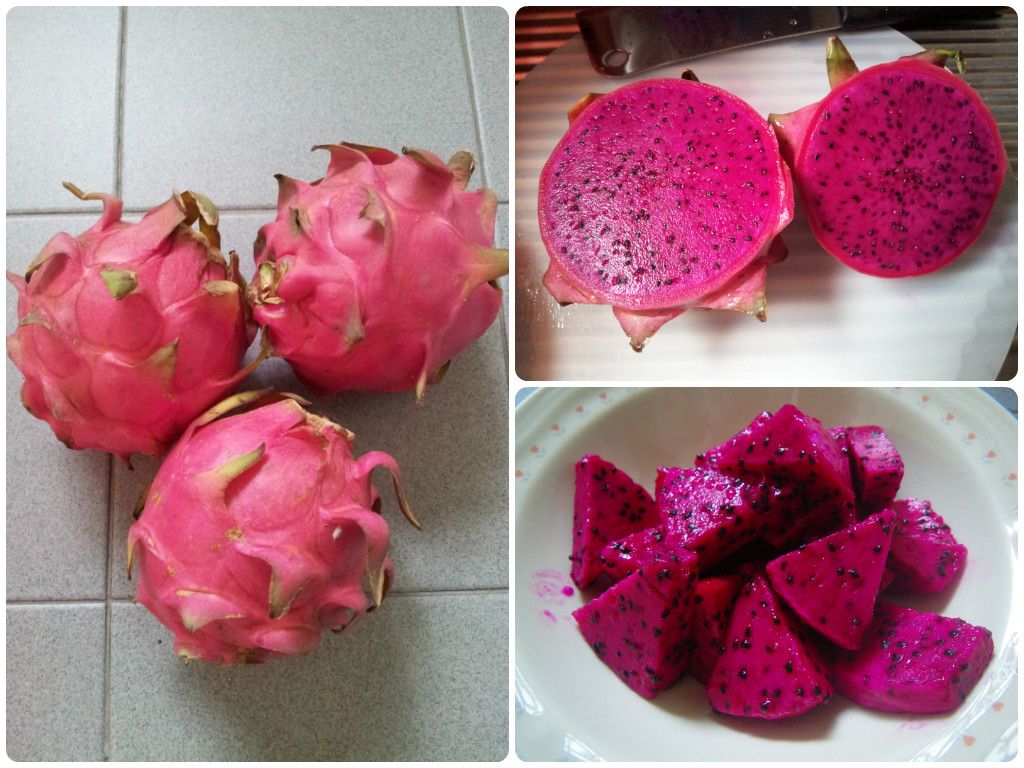
I was hooked onto the Philippines red dragon fruit since two weeks ago after the fruit seller recommended me the fruit. Actually, I have eaten that before when I was on holiday with my little big sis's family to Gold Coast two years ago. Somehow, eating the fruit reminded me of the wonderful time I had during that trip.


Red dragon fruit or known as Pitaya roja or Red-fleshed Pitaya is also known as Hylocereus polyrhizus. I have been eating it on its own or blending it to drink as juice. Given that Halloween is coming, I thought why not try something different with the fruit, especially with its pretty pinkish-purplish color. So I decided to make ice cream out of it, and it turned out to be the best DIY ice cream by far due to the creamy, gooey texture.

Ingredients:
260g Red Dragon Fruit Puree
80-100g White Sugar
Juice from 1/4 lemon
200ml Whipping Cream

Method:
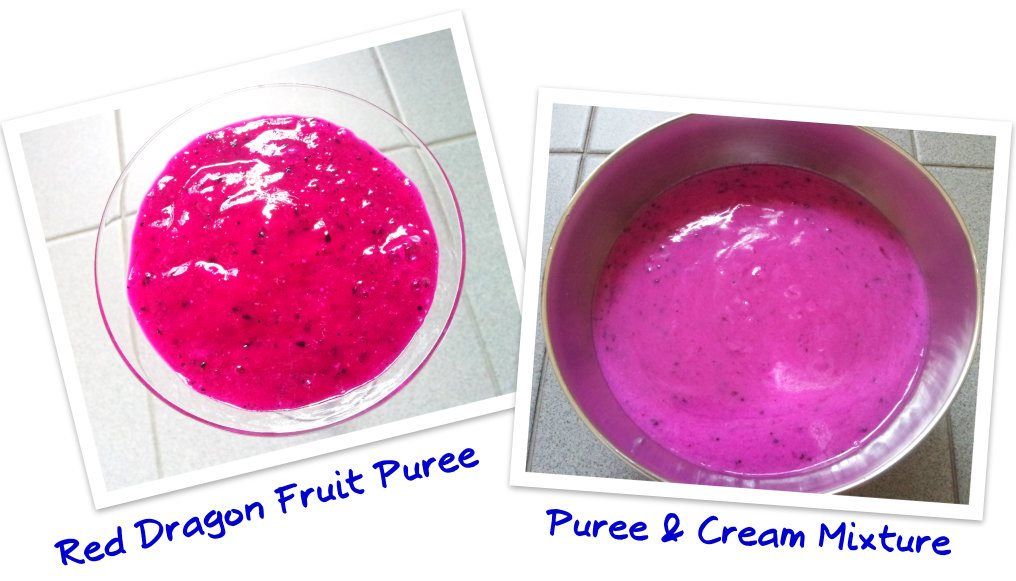
1.  Combine red dragon fruit puree, white sugar and lemon juice in a pot and bring to boil over low heat
2.  Continue to simmer over low heat till thicken slightly and off the heat
3.  Leave the mixture to cool completely
4.  Use a whisk to whisk the whipping cream till foamy
5.  Add the whipping cream into the cooled red dragon fruit mixture
6.  Whisk the mixture till well combined
7.  Transfer the mixture to a container of your choice and put into the freezer
8.  Take out after six hours to churn with a spoon or leave it in the freezer overnight

Just to share, this is the nifty little gadget I used for whisking the whipping cream. Got it from Daiso, PS. Ah...! Good news for hand/wrist work.


---------------- Edited on 28 Oct 2013 ----------------

Brought half of the ice cream to office and was hoping my food buddy, CC, would be around to give me honest comments. Unfortunately, she was not in office today. So I offered the ice cream to a few other colleagues who appreciate desserts.

TYY said, “I've never had red dragon fruit before so this was a nice intro to it. Nicer than white dragon fruit! I'm not really a dragon fruit fan but this was a nice palate cleanser.”

NYP commented that it tasted like sorbet while GL simply kept repeating that it was nice. SWT said it was yummy but a bit sweet while KH said it was creamy and not too sweet.

At home, I found that the ice cream texture was like that of the gelato when out of my freezer, however, it was harder when it was out of the office freezer. The only conclusion I had is that the office freezer was colder than mine. Lol. Anyway, seems like this ice cream received quite a lot of positive comments.

Sunday, August 25, 2013

25 Aug 13 (Sun) - Scrambled Egg White with Fish and Seafood Sticks

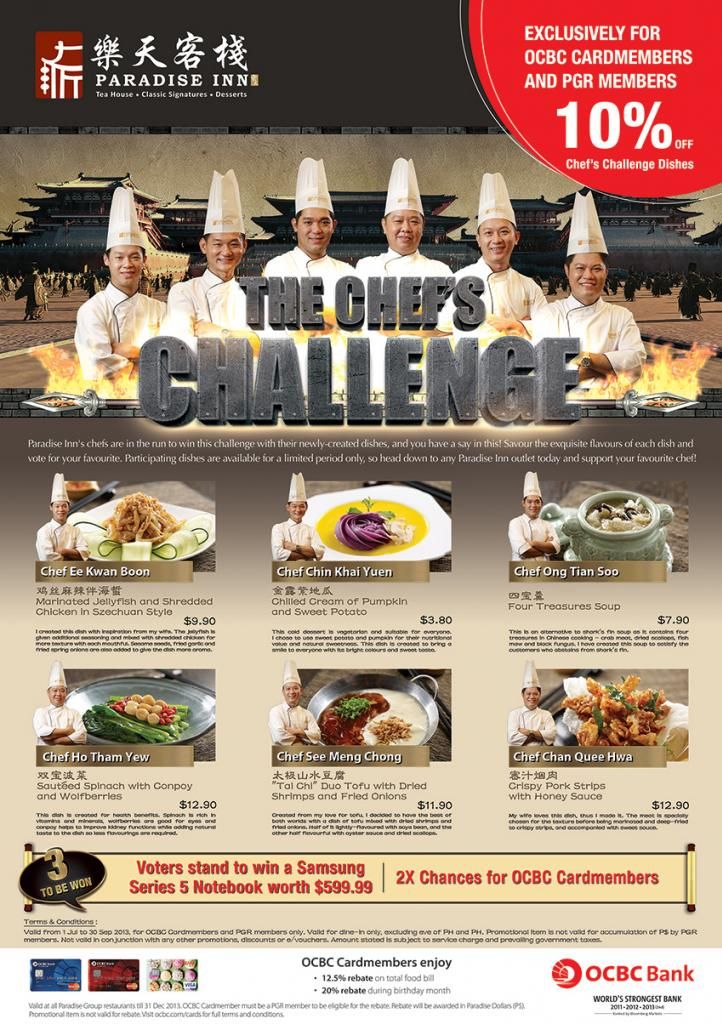
Was reading the newspaper few days ago when I saw a picture of this dish called Scrambled Egg White with Fish and Dried Scallops. It was a promotion by the Paradise Group to celebrate their 1st year anniversary for the suburban outlets at Causeway Point and Lot One Shoppers’ Mall. The dish looked good and so decided to try it out this weekend. I didn't have any recipe and so searched the Internet for one or something similar.

Managed to find something similar and did some modifications since I didn't have dried scallops and didn't want to make too big a portion.


Ingredients:
100g egg white (2 medium size eggs)
4 seafood sticks (only the red portion)
20g shredded fish
20ml chicken stock
pinch of salt and sugar
1 tsp cornstarch dissolved in 1.5 tsp water
1 tsp Chinese wine
1 raw egg yolk
Oil

Method:
1.  Combine egg white, seafood sticks, shredded fish and mix well
2.  Heat some oil and pour the egg white mixture in
3.  Stir continuously with a whisk to prevent coagulating till it is 70% cooked
4.  Strain and set aside
5.  Heat some oil, add chicken stock, salt, sugar, cornstarch and wine
6.  Stir well to thicken mixture, add the cooked egg white mixture and mix well
7.  Off heat and transfer to a serving plate
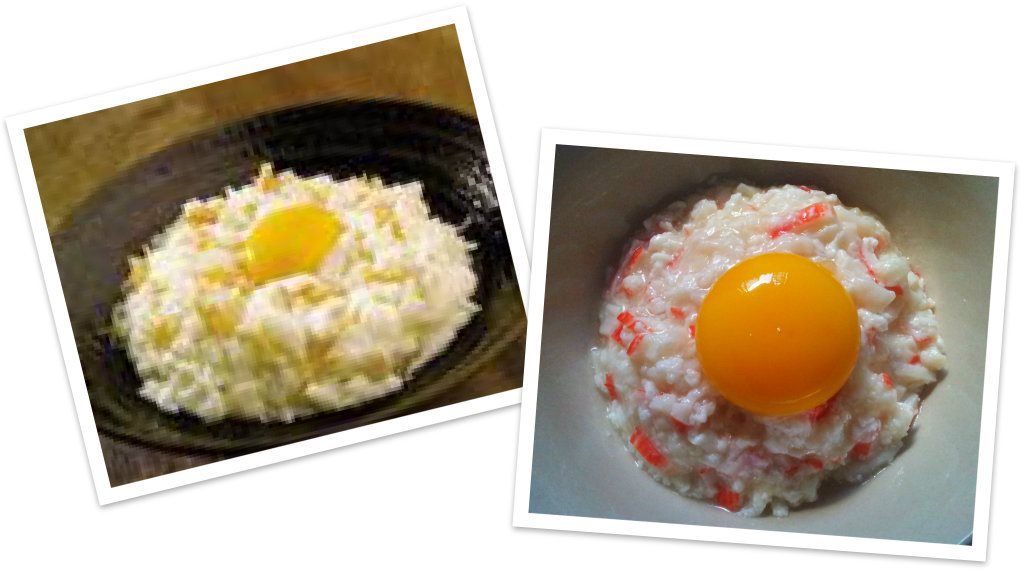
8.  Top with a raw egg yolk


Ideally the dish should be eaten with Chinese black vinegar, unfortunately I didn't have that. Did some digging and found this little story behind the dish.

A long time ago, the king of China wanted to try crab. Since he was based in Northern China, there was little access to seafood. Actually, even if they had crab, his subjects would not dare serve it to the king because if the king gets careless and bites the shell, the subject who served him the crab would be killed. The dish was concocted by the family cook of a Shanghai general using fish, scallop, egg white and black vinegar. They sent the dish to the king who loved it. This is why the dish's Chinese name is Artificial Crab.

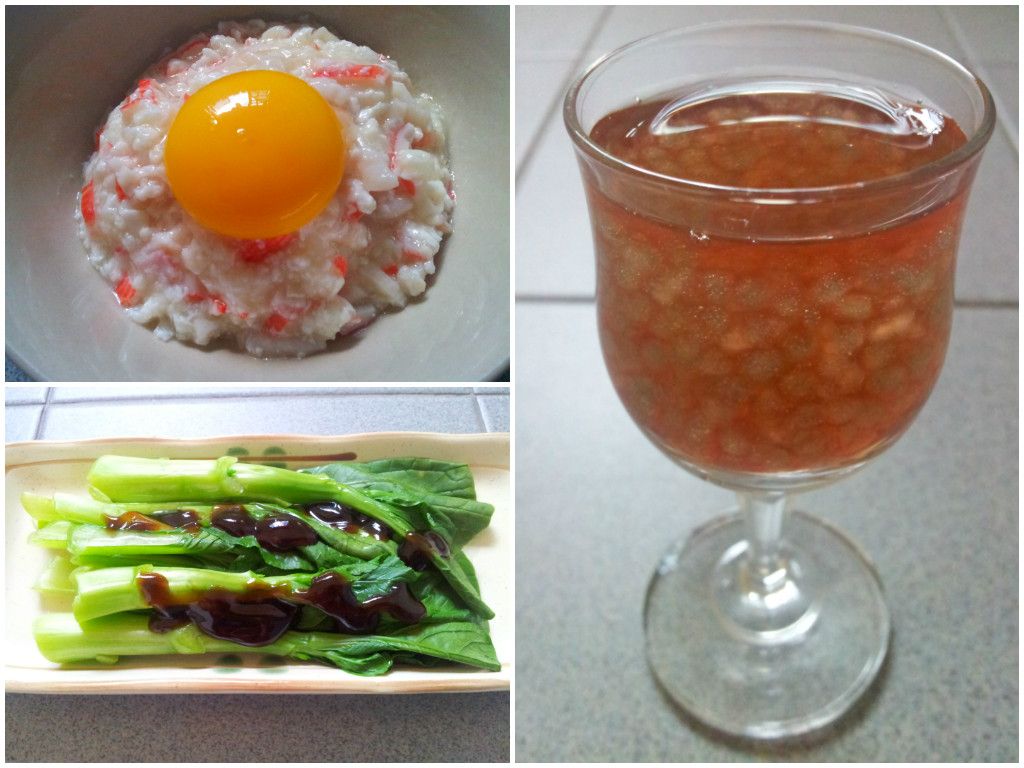
Cooked a vegetable dish and today's meal was Chinese cuisine consisting of Scrambled Egg White with Fish and Seafood Sticks, Oyster Sauce Choy Sum and Lingonberry Drink with Blue Sago.


Browsed the Paradise Group webpage and found another promotion called The Chef's Challenge. The middle dish on the first row was the one I saw few weeks back that prompted me to try the experimental Chilled Sweet Potato in Pumpkin Soup.

Saturday, August 17, 2013

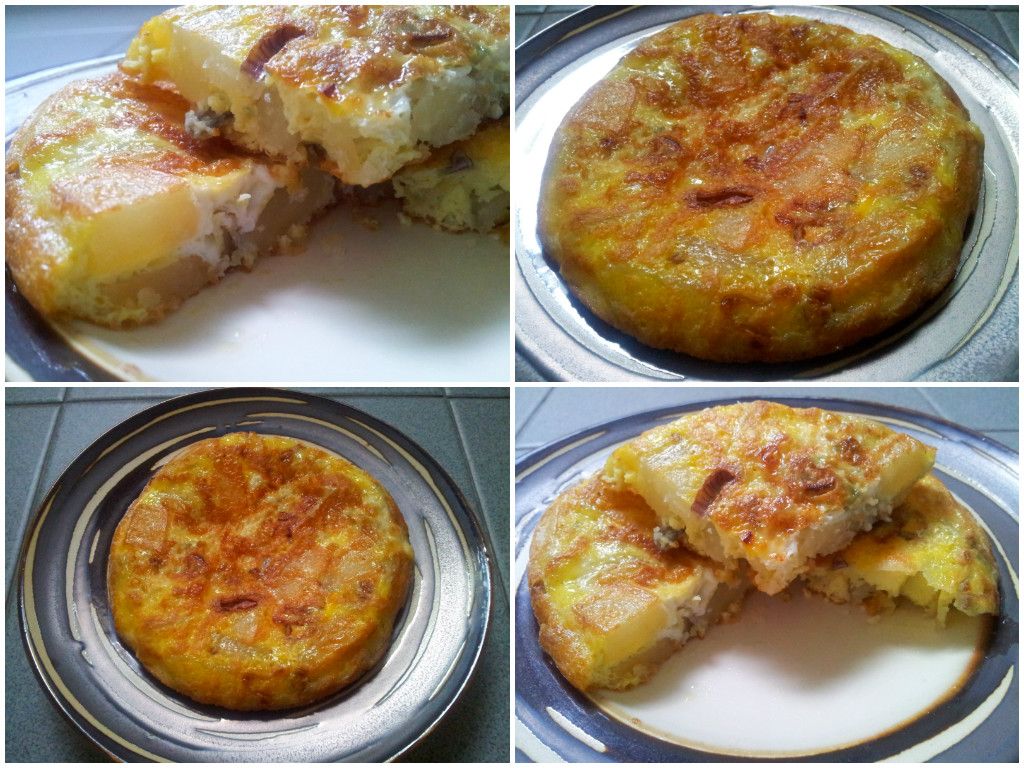
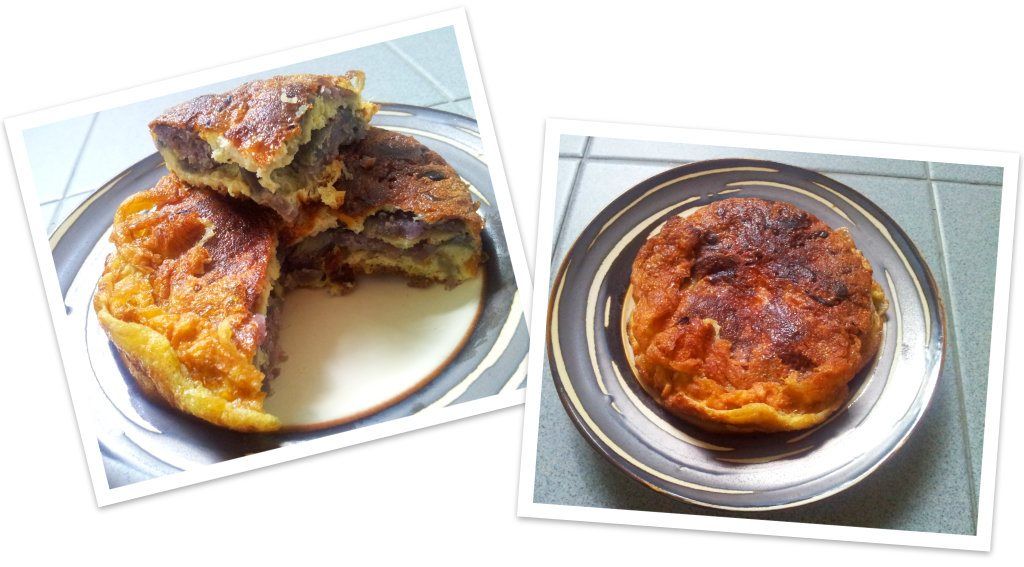
17 Aug 13 (Sat) - Spanish Omelette (Tortilla Española)

I totally had to blog about this because I finally managed to cook this successfully at the third attempt. I guess this is what people say about the third time's a charm.


Besides the seafood paella, the Spanish omelette, which is known as Tortilla de Patatas or Tortilla Española in Spanish, is the other dish I that I couldn't forget after my recent Spain & Portugal trip so I searched the Internet for the recipe. Found a few, read them and the basic ingredients and steps are the same.

My first attempt was using the purple sweet potato because I didn't have any potato on hand and I was too eager to try cooking the dish. Sliced the sweet potato thinly to fry but I didn't use enough of it to cook the omelette. Also, I had probably over beaten the egg such that the side of the omelette fluff up a lot during the cooking. The end result was a crumpled and sweet omelette with a purple color interior. The exterior looked nothing close to those that I had eaten back in Spain. Conclusion: FAIL.


The second attempt was done at my little big sis's place last Saturday using russet potatoes. She did the cutting because she wanted to use the potatoes to cook her favourite dish - minced meat potato. So the potato slices were round and rather thick. Took a few slices to cook the omelette and again I failed. The potato slices couldn't line bottom of the pan nicely and again I made the mistake of over beating the egg. The end result was a crumpled and crumbling omelette because the potato slices were falling out of the egg. Conclusion: EPIC FAIL.

Interestingly, there was an article about this dish in The Straits Times the next day, recipe included. I was so happy and cut the article out to keep.

Little big sis gave me the one and only leftover russet potato since she had no use for it. So finally I managed to find the chance to do the third attempt of the dish today. I pondered over what had gone wrong in the previous two attempts and made some modifications to the way I cook it today.

Instead of slicing the potatoes, I cut them into strips of about 0.5cm thick. Then I just lightly beat the egg enough to combine the yolk and white without creating too much air bubbles. The rest of the steps were based on my memory of those recipes I had read and the amount of ingredients used were based on my own estimations.

Using about two tablespoons of olive oil, some salt and pepper to taste, I fried the potato strips till soften then added in the shallots slices (because I didn't have onion on hand) and fried till they became transparent. Drained the oil to be used later and set the potato strip aside in a bowl to cool. Then lightly beat an egg, adding a little bit of salt and pepper to taste.

After the potato strips were cooled enough, I chose those thinner and smaller ones to add into the beaten egg and added just enough pieces for the egg to cover them. It came to be about half of a medium size potato. Instead of heating up the oil and then add in the mixture, I added the oil to a 12-cm pan and then poured the mixture in, spreading the potato strips evenly so that the egg mixture covered them before turning up the heat.

I cooked the omelette over low heat and once the side of the omelette was set, I used a spatula to loosen the side and bottom of the omelette. Then took a plate that was bigger than the pan, turned it upside down to cover the pan and flipped both over so that the omelette fell onto the plate. Added a bit more oil to the pan before sliding the omelette back into it to cook the other side which took about two to three minutes.

Off the heat and transferred the omelette to a serving plate to take photos. This time round, both the exterior and interior of the omelette looked much closer to those I had eaten back in Spain. Perhaps, a slight adjustment the next time will be to cut the strips a little bit thinner.

Another interesting thing I found out was that the type of potato that was called for in most of the recipe is the waxy kind but the wikipedia states that the starchy kind is more ideal for the dish. How ironic. 

Sunday, July 28, 2013

28 Jul 13 (Sun) - Pumpkin Mochi Cake and Sitr-fried Beef with Ginger & Spring Onion

Had leftover pumpkin so made mochi cake using the purple sweet potato mochi cake recipe. Steps are about the same, just that there was no need to add water since pumpkin retains water well after boiling. Pumpkin mochi cakes looked better because of the nice golden color.


Ingredients (Makes 12)
160g Pumpkin, cut into chunks
60g Sugar to taste
80g Glutinous rice flour

Method:
1.  Boil pumpkin till tender, off the heat, drain and remove the skin
2.  Add sugar to the warm pumpkin and mash to make into puree
3.  Add glutinous rice flour bit by bit to the sweet pumpkin mixture and mix well to get a non-stick dough
4.  Divide the dough into twelve portions
5.  Roll each potion into a ball and press each one with the base of a cup to form a flat disc
6.  Spread some black sesame seeds on top of each disc
7.  Heat some oil and pan fried both sides of the disc till brown slightly over medium-low heat
8.  Check that the center of the disc is not raw then remove from heat
9.  Best serve immediately or warm


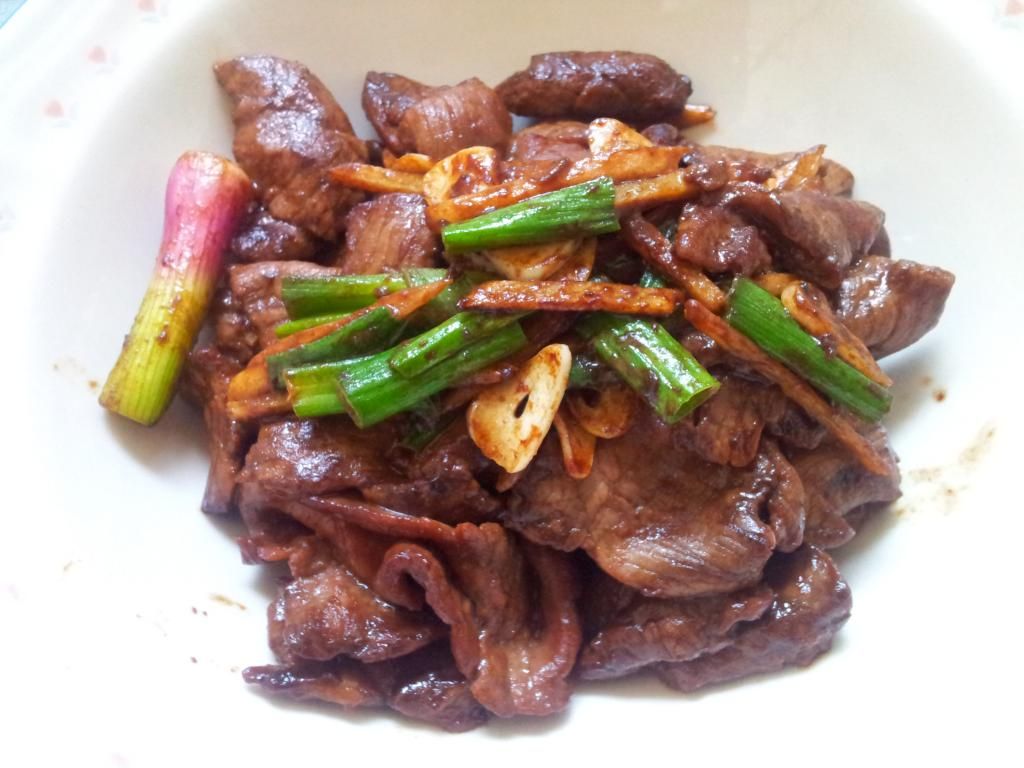
Also since I had leftover beef from yesterday, attempted the stir-fried beef with ginger and spring onion recipe by NoobCook. All went well except that I forgot to add Chinese wine at the end of the cooking. The result doesn't look like the picture in the NoobCook website. Wonder if I had added too much dark soy sauce.